Here you’re going to learn how to create a building from A-Z.
Concept PHASE
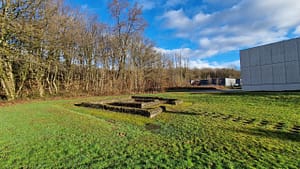
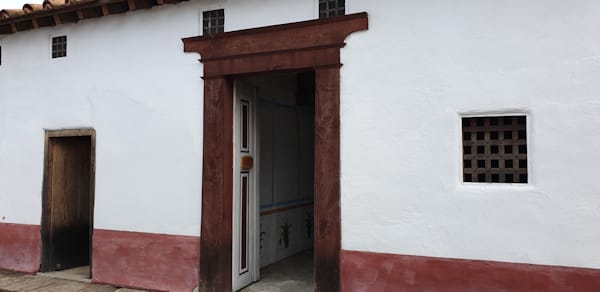
First I think about which of the different population groups I want to create the house for. In this case for level 2, so it shouldn’t look like a mud hut, but it shouldn’t look too splendid either. Now I search for pictures in various books I bought, picture search in Google©️ and at Pinterest, and orientate myself by the various photos I took from various excavations. I do not record a sketch. I already have the building in my head.
CREATE 3D MODEL
The 3D model is created in Blender. Blender is a free 3D program that will be explained in detail further on.
First I create the 3D model. I start with a rough building structure.
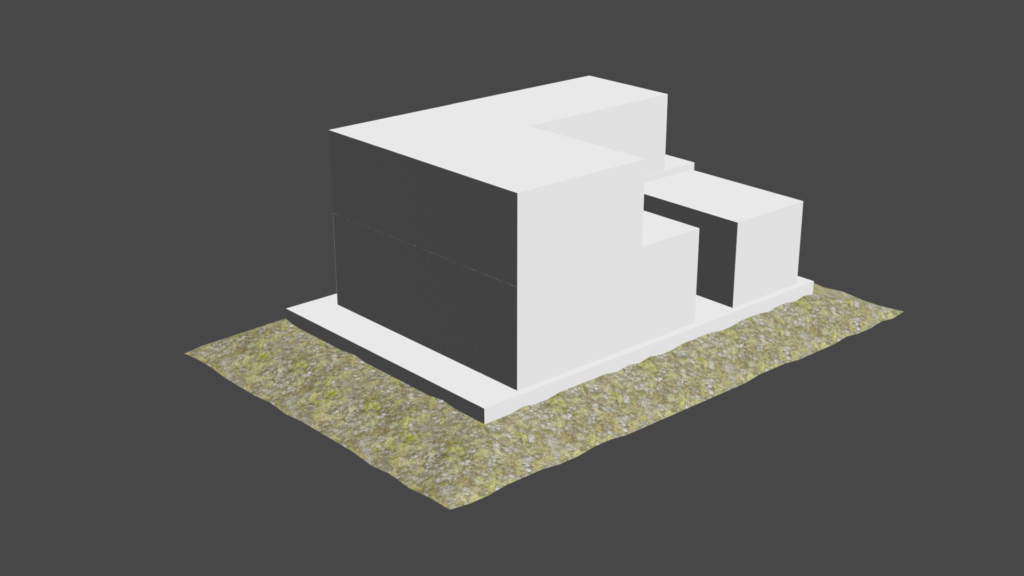
The buildings should look organic. Therefore, I design the rough structure so that it looks as if the building has been extended over the past years.
Based on this model I start to refine the basic structure a little bit.
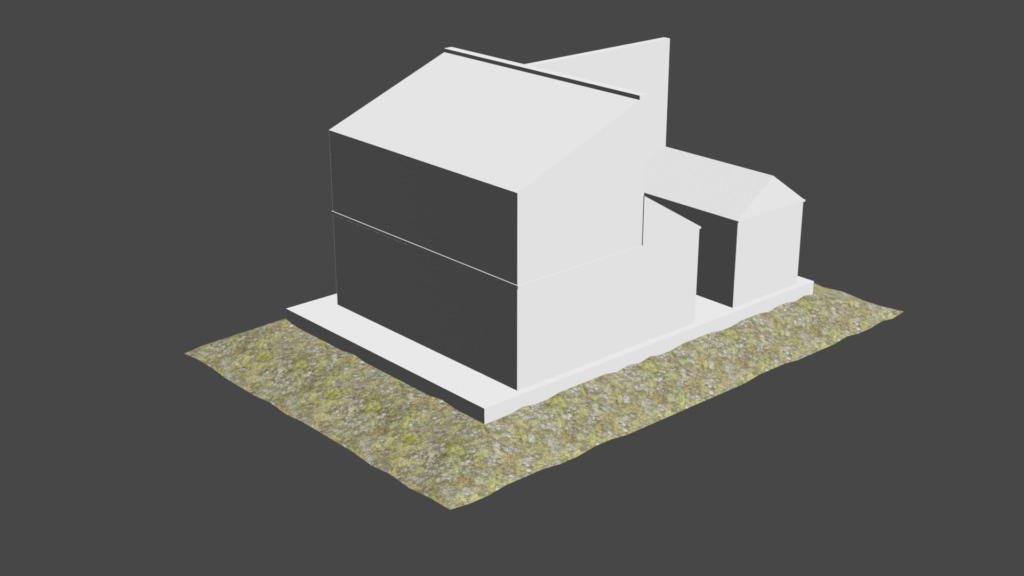
Due to the roof structure, I now have a good picture of how the building will look like. Up to this partial step, I have already had an hour of work. The modeling takes only about 20 minutes of work. But since I always adjusted the angles of the roofs, this time it took a little longer.
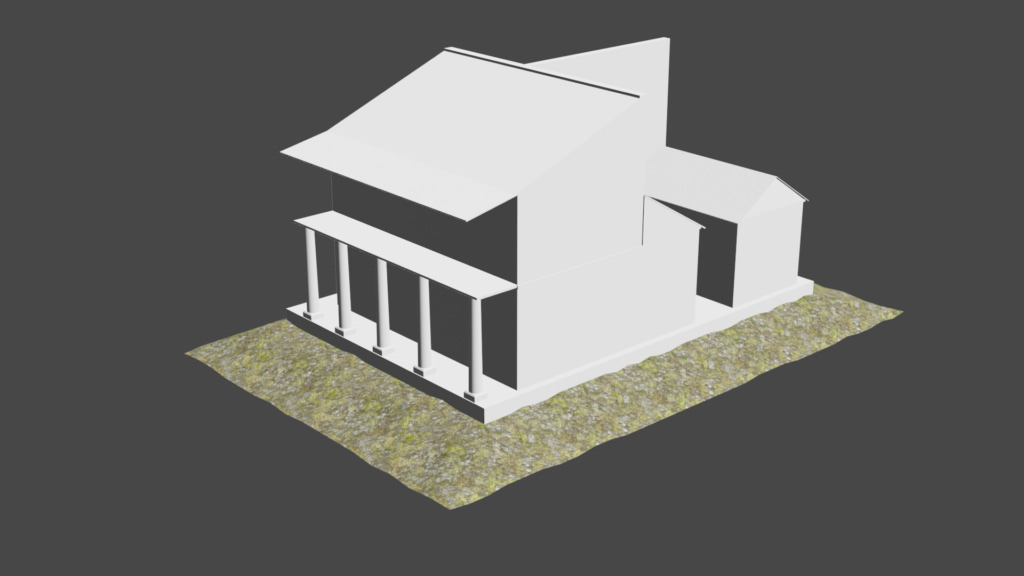
The first details are added. The arcades, which overlook the street side, are added. I will replace these columns later on because they are just placeholders at the moment.
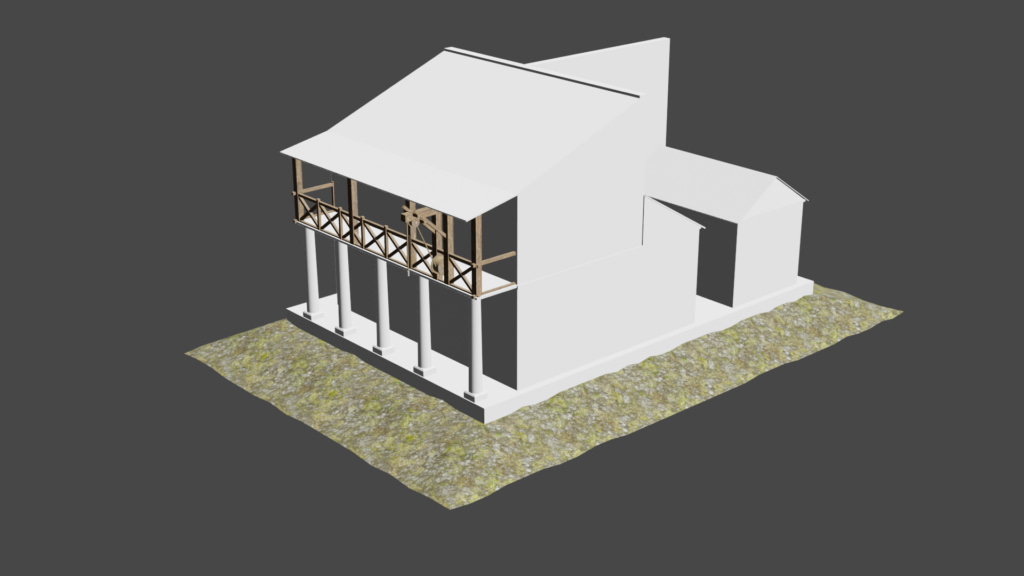
More details will be added. Again and again, I see reproductions of ancient Romans using a crane to heave furniture into the buildings above. I have also installed a crane now.
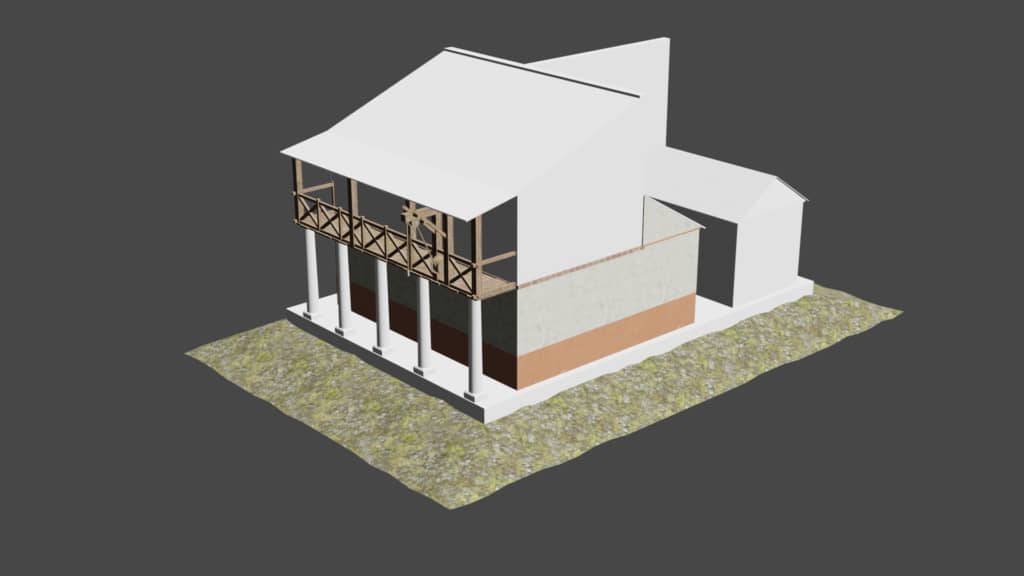
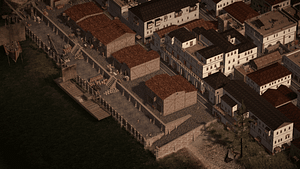
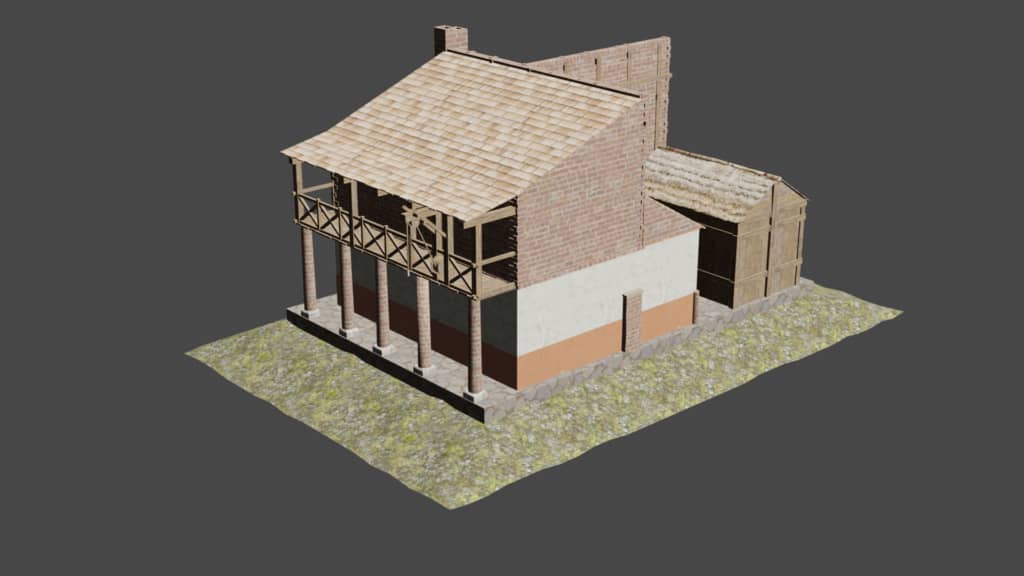
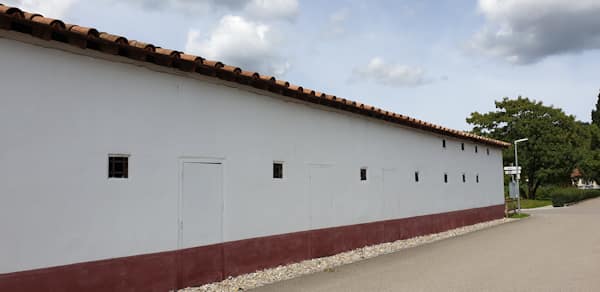
The walls got the textures. As you can see on countless reproduction, the Romans have this red/white design on the walls. I took the museum in Augusta Raurica as an example. It was plastered in exactly the same way.

This red/white plaster is also visible at the Roman barracks in Vindonissa. But here the white area is much larger compared to the red area.
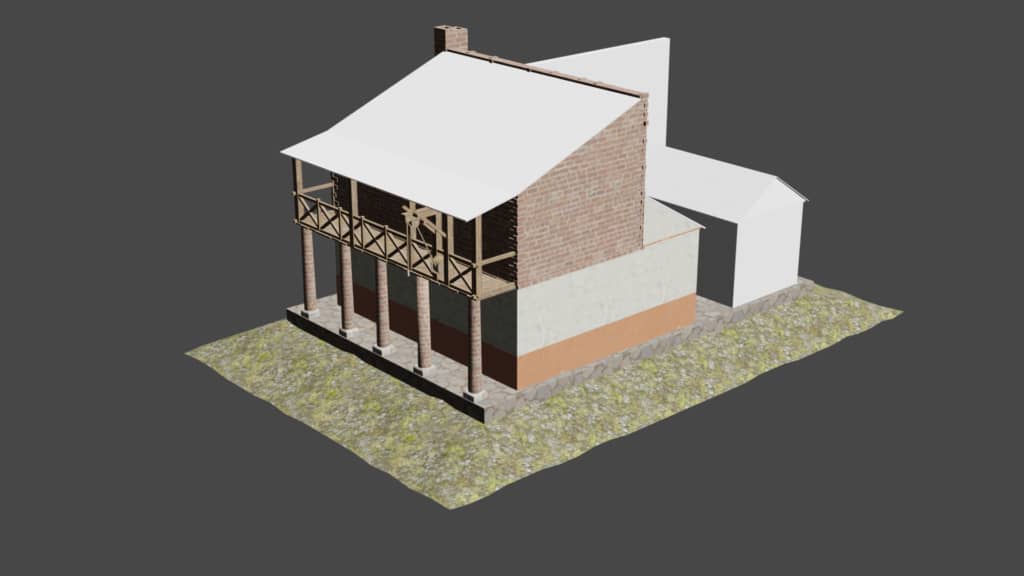
The upper floor should look a little poorer. There the house owners had no money left for a nice plastering. Therefore, the brick wall is here visible.
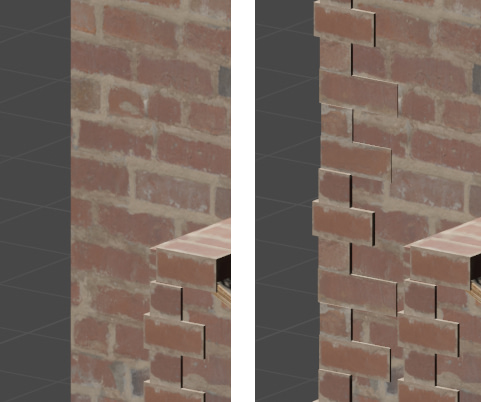
Since I have no training as a designer, I learn with every object. I noticed that with straight cottages the buildings look artificial. I have given this technique the name “edge breaking”. I have no idea if there is a real name for this technique, but the final result looks much better when the edges are broken. The example below shows that on the right side the edges are broken by single bricks.
Now the house in the inner courtyard was designed. It will be available in the game as an upgrade. The player can upgrade any building to make it better. For this building, he can build a wooden house in the courtyard to make more space for the inhabitants.
The difference is small, but the first details are added.
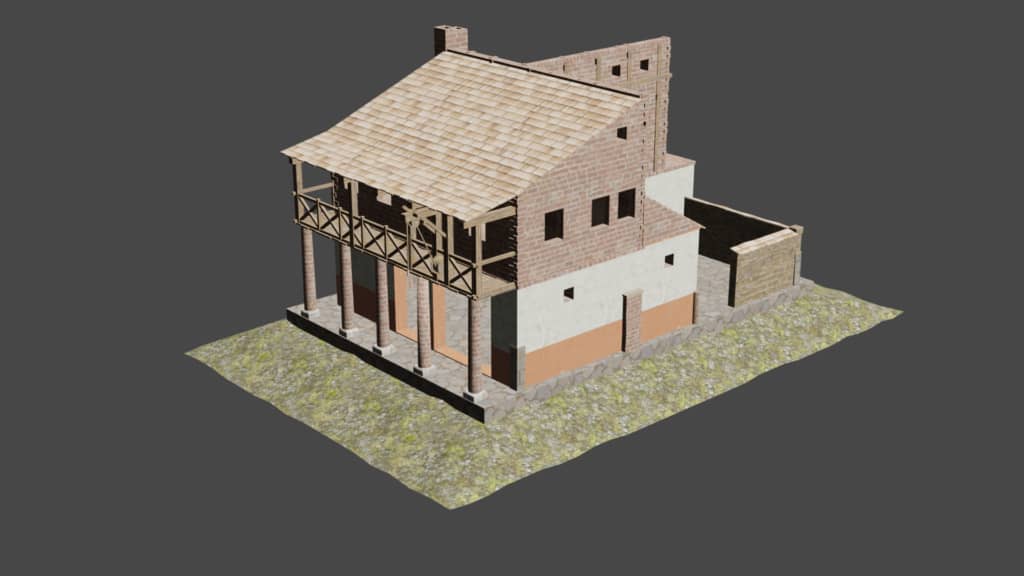
Now the holes for the windows were cut out. I deliberately made the windows on the first floor smaller for security reasons. In the courtyard is also a wall visible instead of the wooden house. If the player simply builds a house like this, the wall will be visible in the courtyard. Only after the building has been upgraded, the wooden house will be shown instead of the wall in the courtyard.
The windows now have blinds and the windows on the first floor have been barred.
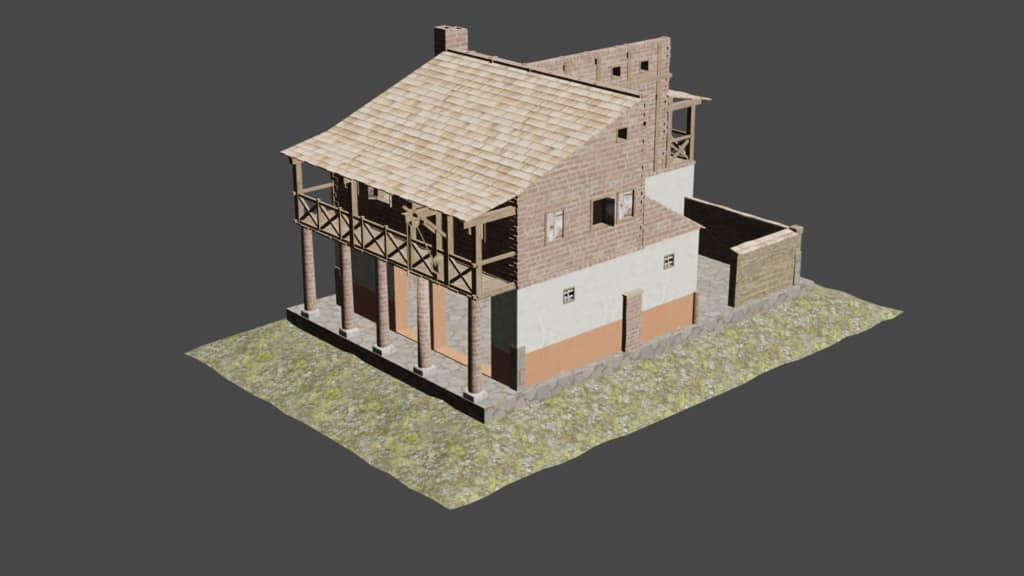
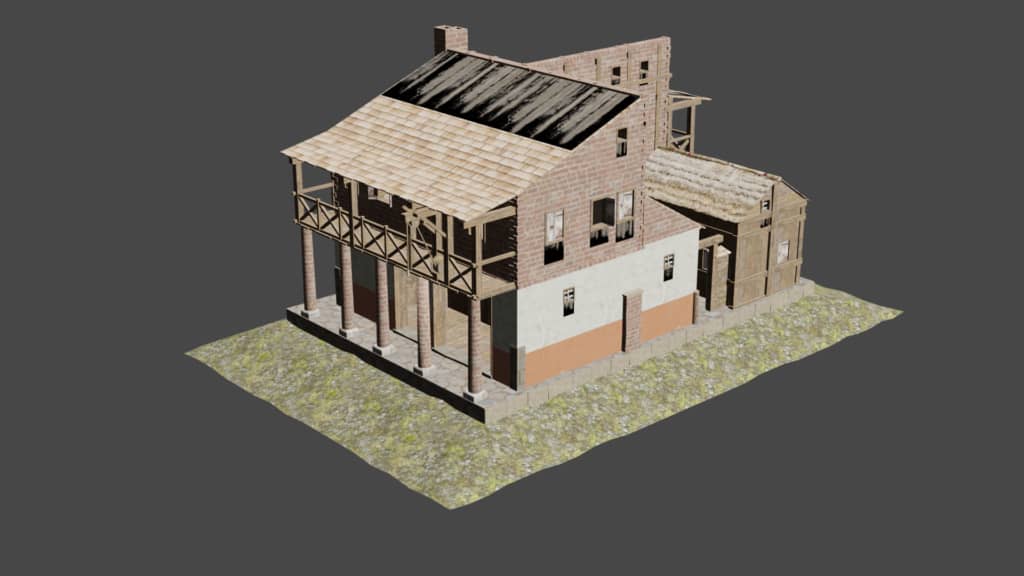
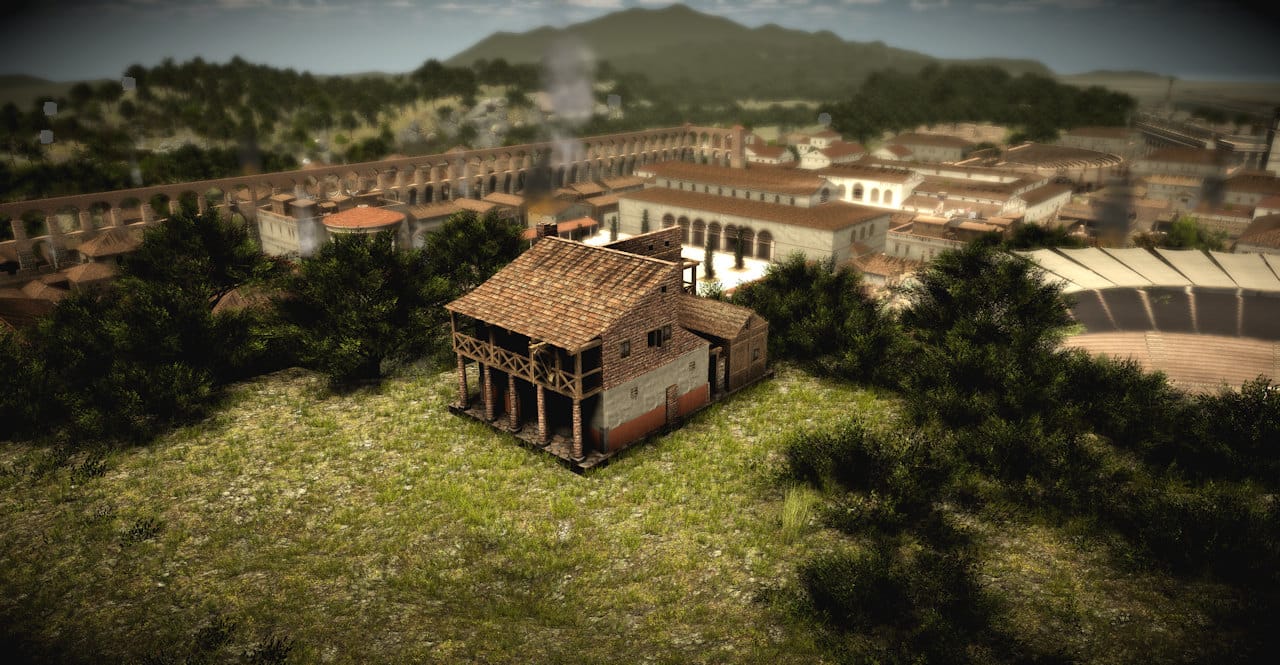
The model is finished. Up to this point I had about 5 hours of work. The black areas under the windows and on the roof will be called „decals“ later in the game. The player will see dirty surfaces there.
CONSTRUCTIONS
Although the building is erected, there are also buildings that are on construction in the game. This means that each building also exists as a construction site. Each building has at least four construction site levels. Some buildings, especially larger buildings, have more than one construction site level.
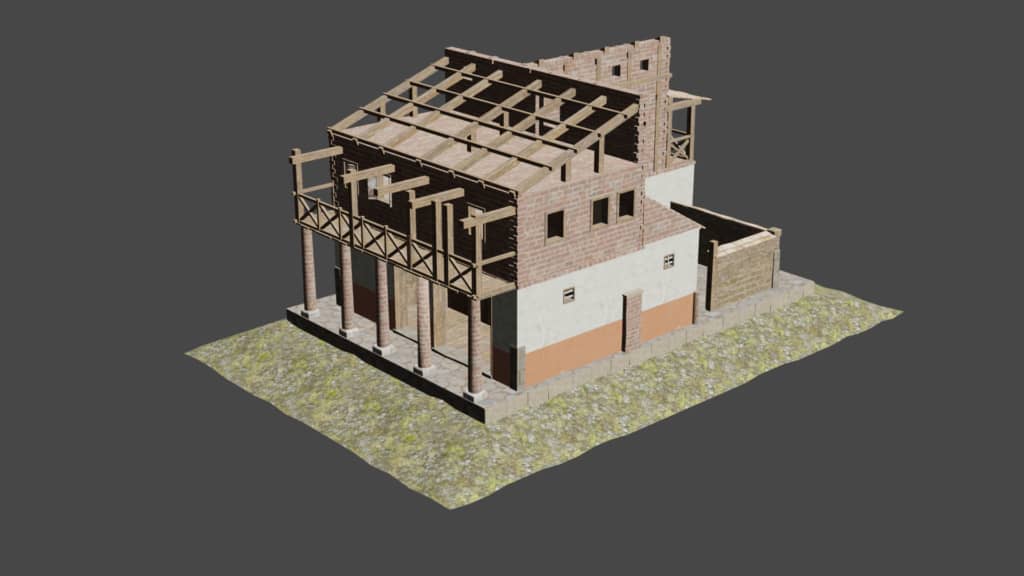
I create construction sites by dismantling or reducing the size of the building. This means that the building is reduced more and more until it only contains the excavation pit at the end. The player then sees the building site exactly the other way round. That means, he sees the building pit first and the picture shown above shortly before completion.
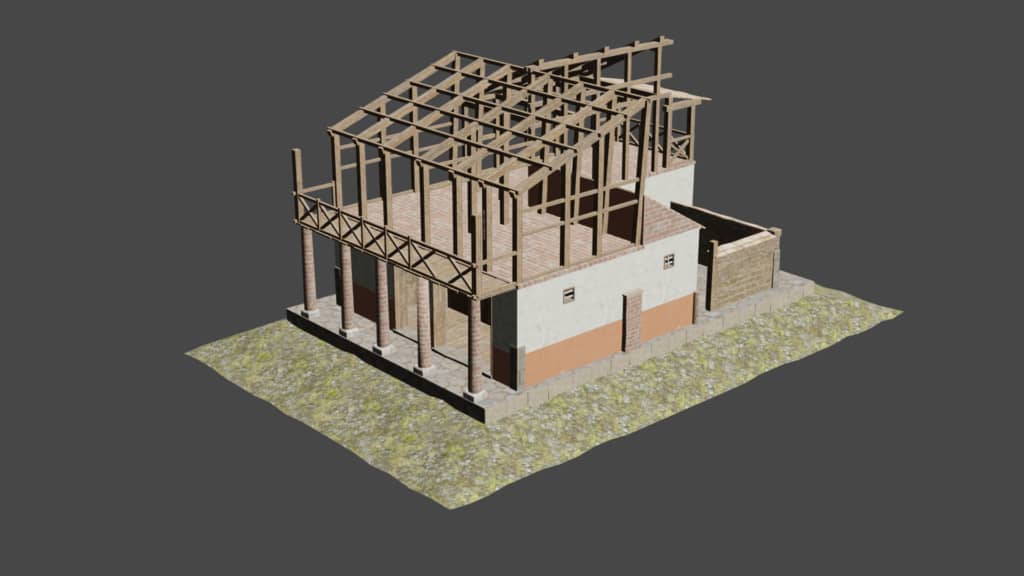
The second floor has already been completely removed. I have found that building sites look more realistic in the game if they consist of many wooden beams.
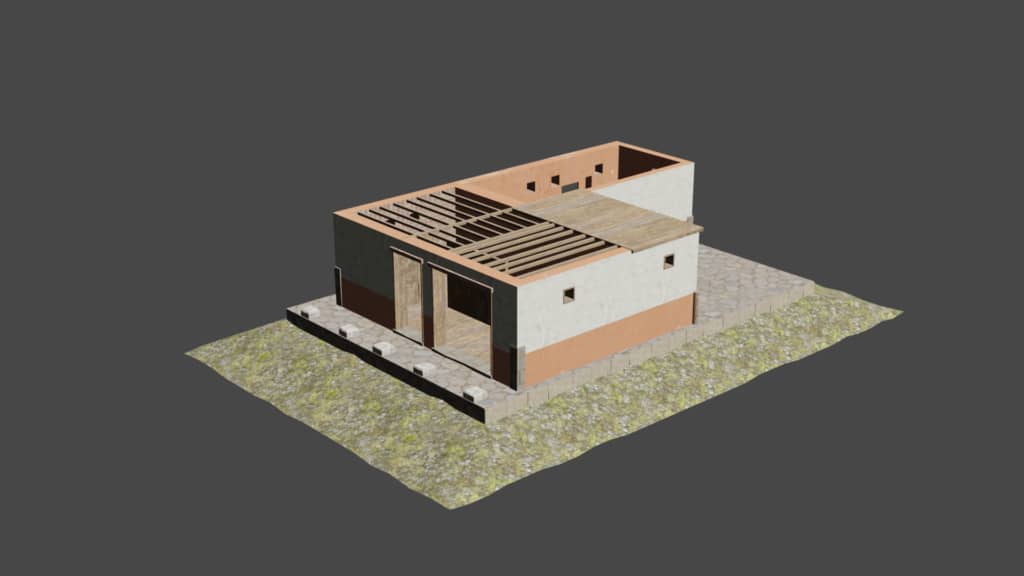
Only the first floor is left.
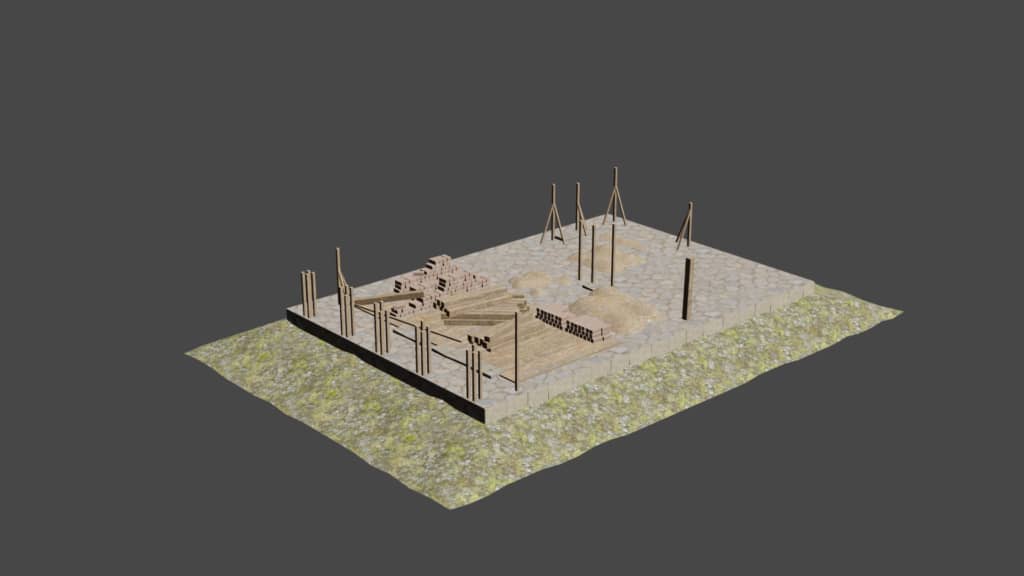
The “excavation pit” is finished. You can’t see the details so well from this perspective. Mountains of bricks, wooden beams, and building rubble are lying around. The animated construction site workers are now added to the game.
FINISHING
Now the building comes in Unity3D as an FBX file. There the final materials/textures are applied to the building so that it looks realistic. In Unity, you can also add decorative elements such as chimney smoke, barrels in the courtyard, etc. How a building is prepared in Unity, will be shown in a later blog post. You want to be there live and see the final result? Then subscribe to my YouTube channel, where I will show you exciting videos about game development and read my blogs. In the next blog, I will show you how to create an oven.